Hi! My name is Emily Urban. I’m the voice of our social media (follow us!) and am so excited to be showing you how to make the first ODIY – Omega Do-It-Yourself – we’ve put together ever! I’ve searched through Pinterest and found easy, yet beautiful-looking crafts, because if you’re like me, you have limited time, money, and you aren’t what I affectionately call a Pinterest guru – someone that can make gorgeous, complex things effortlessly out of thin air. 🙂
I’m calling these crafts ODIYs – for Omega Do-It-Yourselfs, of course. Share your results with #ODIY!

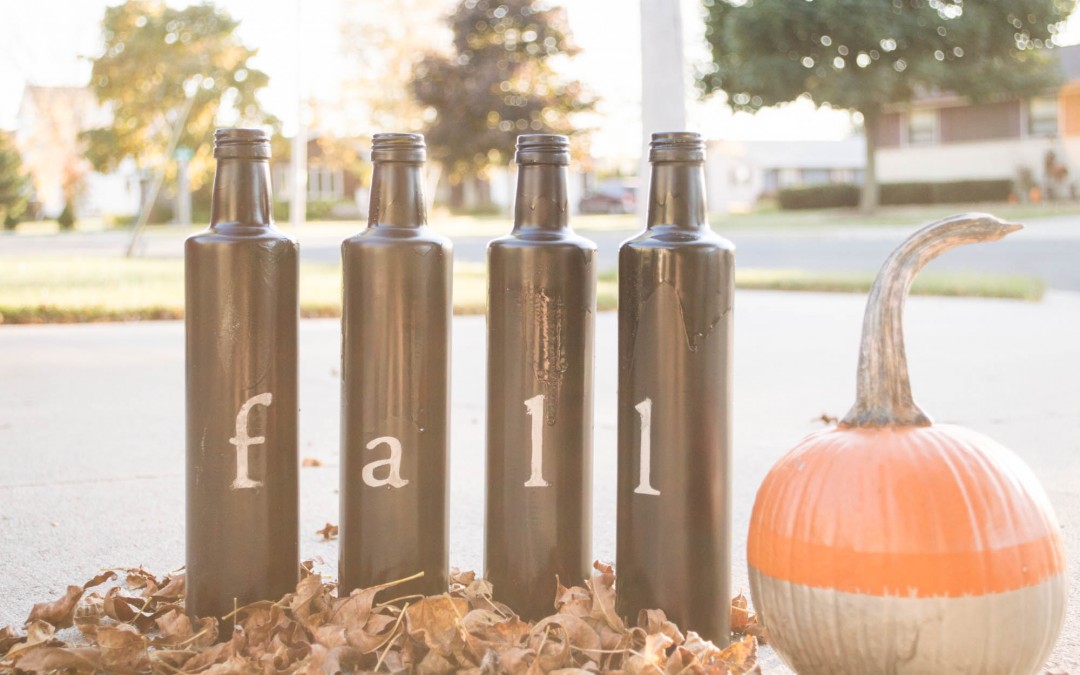
Our first craft is this set of four decorative bottles. Perfect for your Autumn fever and that touch of elegance in your home. This craft was easy enough for me to do and cost less than $15 to make!
Here’s what you will need:
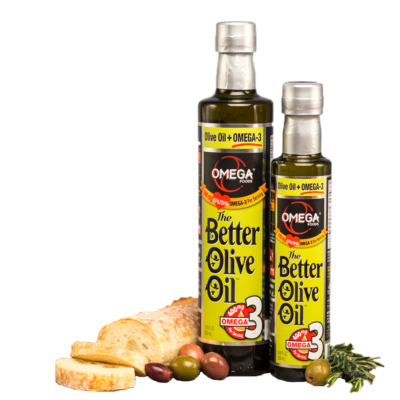
- Four empty bottles from The Better Olive Oil (I recommend just getting four and consolidating them into one large container! It’s so worth it, and you’ll be set for ages. If you need recipe ideas to use it, check out our Pinterest! I’m always looking for ways to use this fantastic and tasty olive oil.)
- Two cans of spray paint (I used sparkly gold and matte black! Just pick two seasonal colors of your liking – one for the letter, and one for the rest of the bottle!)
- Paper for printing the letters
- A glue stick
- Newspaper (to protect your workspace)
Let’s get started!
Thoroughly clean out the bottles and remove the labels. I found these labels fairly easy to remove! For a tutorial on that, click here. Let dry.
Next, get your color for the letters! I used this gorgeous gold for a little shine. Spray one side of the bottle, creating a solid coat so that none of the bottle’s glass shows through.
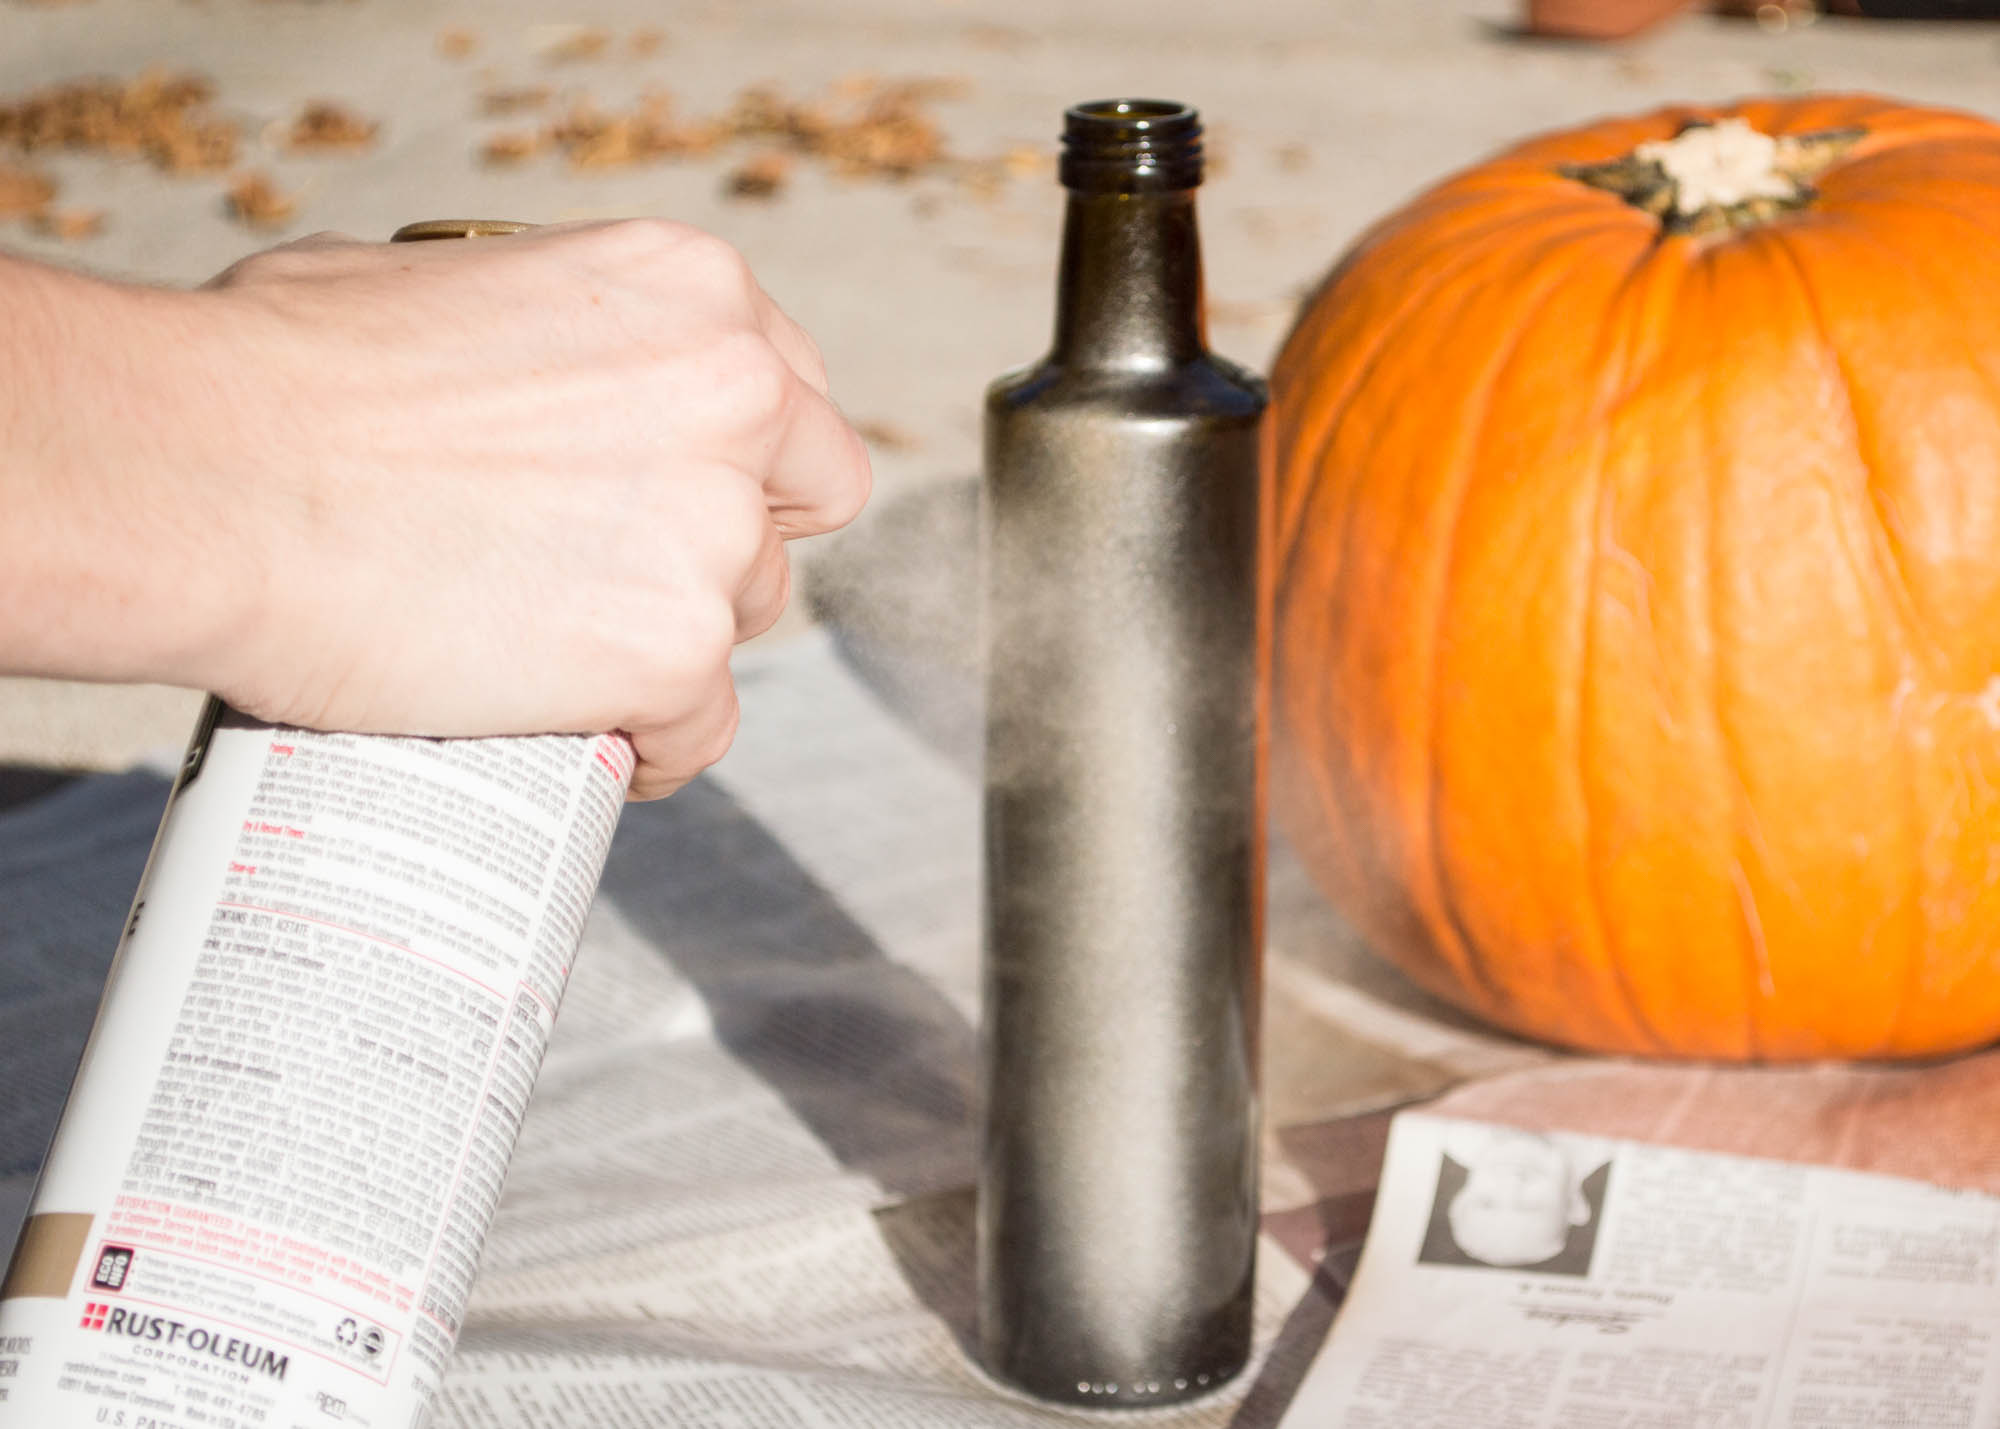
So pretty. 🙂
Let it dry for a good 20 minutes at least. This layer needs to be solid!
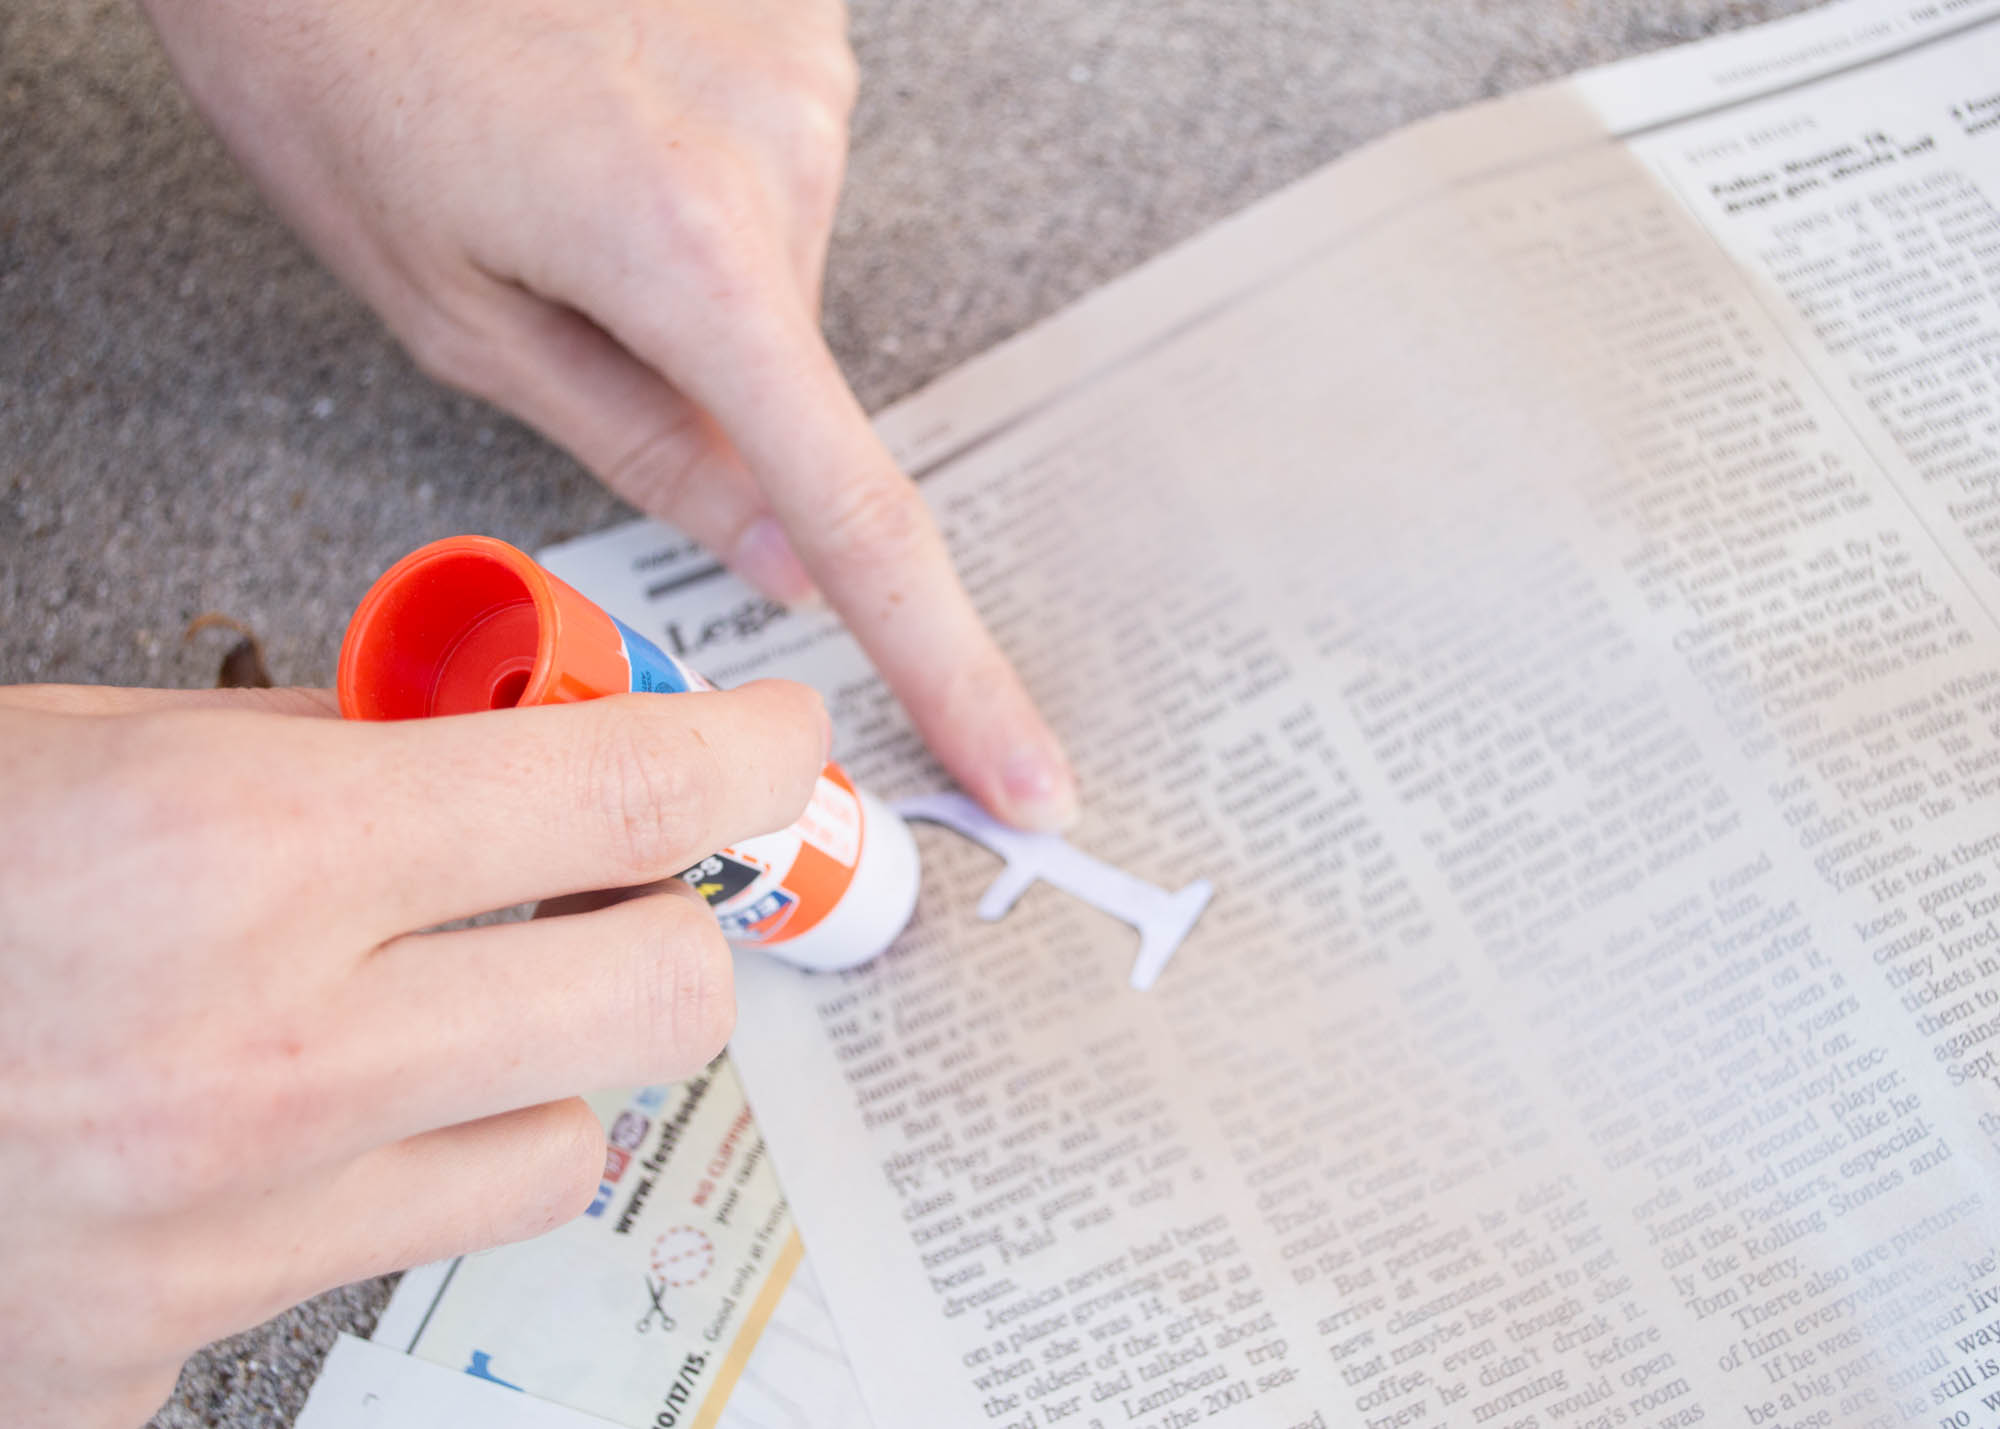
While you’re waiting for it to try, go on your computer and print out the letters f, a, l, and another l in your favorite font. Or, use this PDF I’ve made for you! Once you’ve printed them, carefully cut them out.
Hopefully by this time, the first layer of paint has dried! You can check by carefully touching the edge of the area you’ve painted. If it’s sticky or if any comes off onto your fingertip, give it a few more minutes.
Next, you want to take your glue stick and put a thin layer onto the back of the letters, one by one. Be sure to focus on the edges and not do it too thick. If the edges aren’t secure, paint might drip under the edge, and if it’s too thick, it could take off some of the first layer paint if it isn’t fully dried. Learn from my mistake – but don’t worry too much, because even with my mistakes, I think it turned out rather lovely!
Next, press the letters onto the first layer of paint. Make sure the edges are securely down, but be careful to still have it on gently enough to peel it off later!
All set? We’re reaching the end! It’s almost too easy. I don’t know about you, but I’m a fan of easy crafts. 🙂
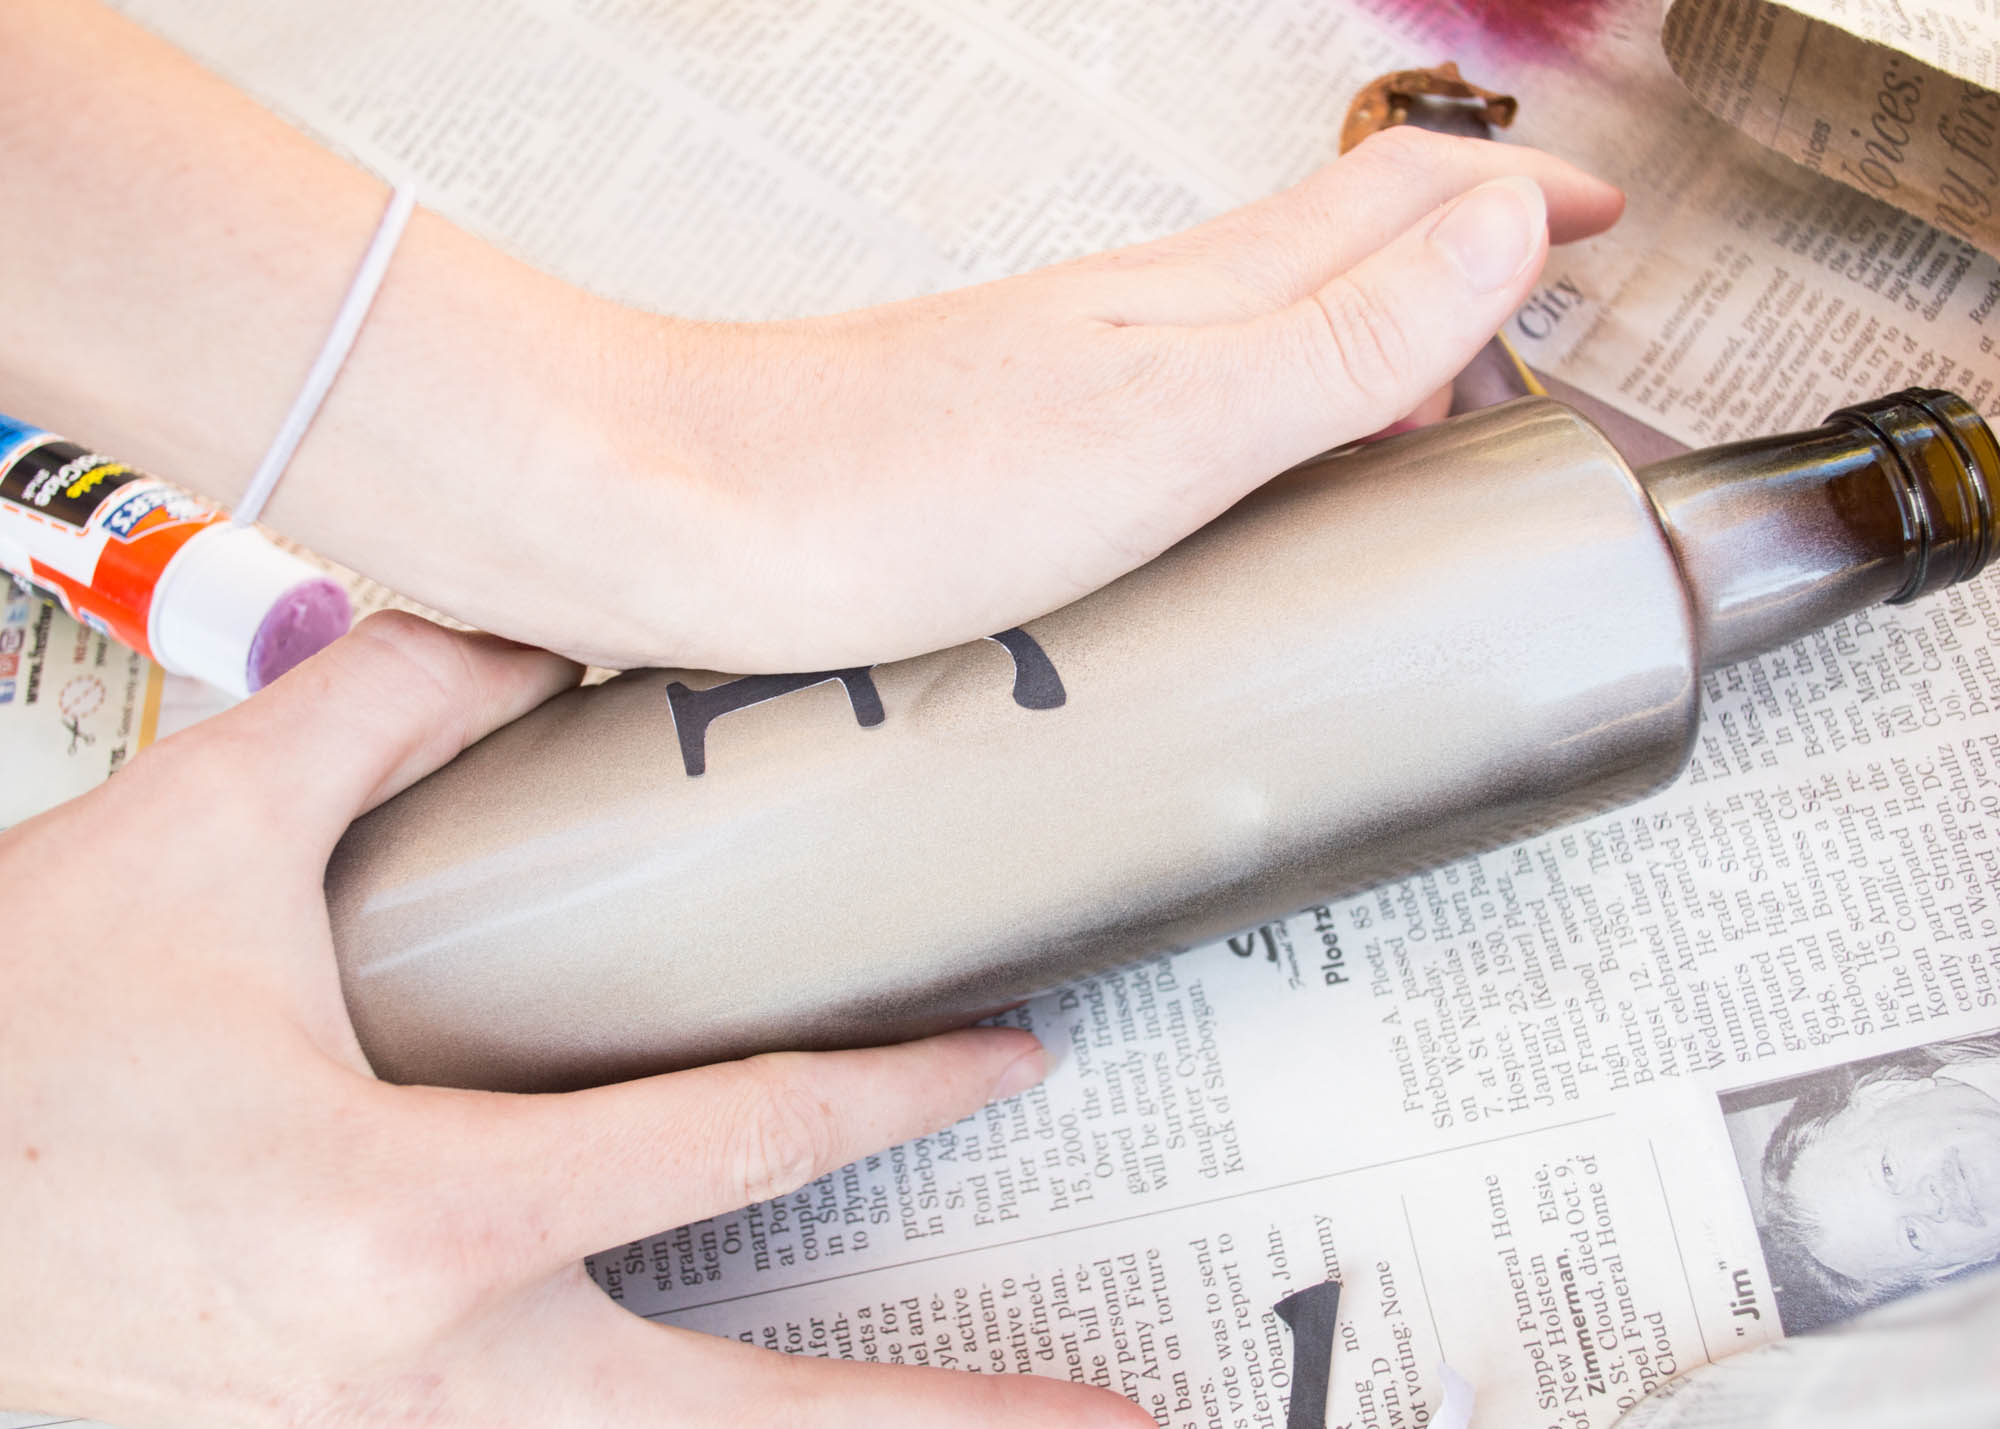
Take your second color and put a solid coat on the rest of the bottle. I chose a matte black to contrast the shiny gold. I was originally going to use a nice autumn red, but I learned something – spray paint caps never match the color inside unless it’s black, white, or metallic! My beautiful maroon was actually a deep pink. 🙁 But I encourage you to find that perfect color combination! You just can’t go wrong with a black spray paint.
When you put this layer on, make sure it’s solid, but also make sure it’s not too thick. I found doing it quickly and rotating the bottle minimized dripping and made it easier to remove the letters later.
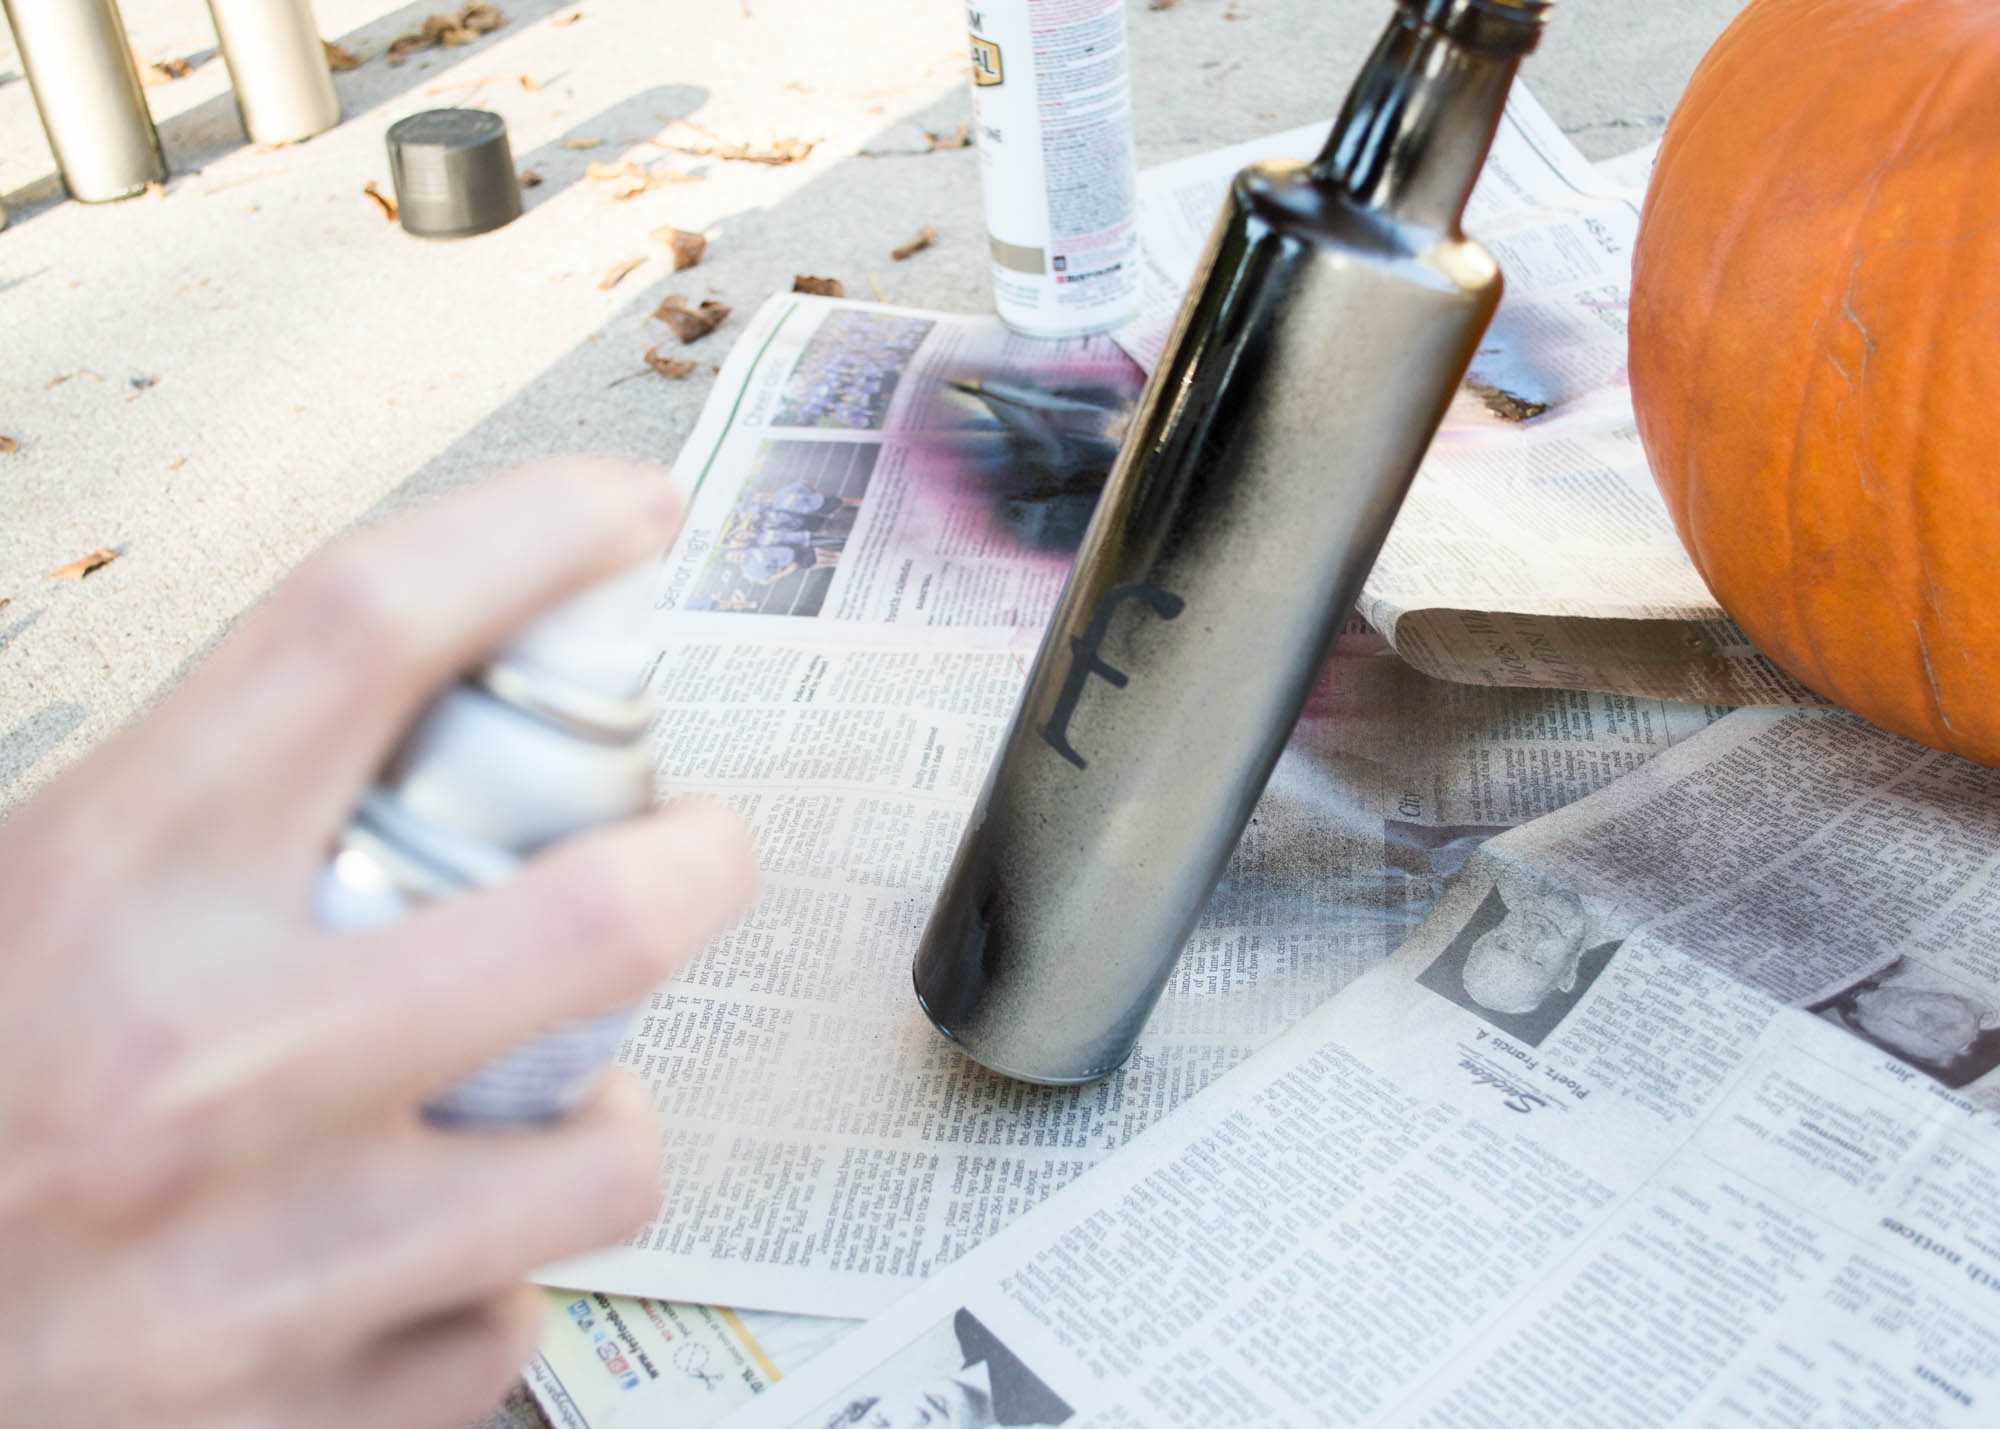
Don’t forget the top of the bottle and the bottom edge!
Let this dry completely. It should take about 20-30 minutes. Once it’s dried, carefully remove the letters. Do this by using your fingernail to get one edge started, then gently pull the letter outward and slightly down (or up, if you started at the bottom). I recommend even taking a pair of tweezers to pull it off so you don’t have to scrape as much. Be very careful not to scrape the bottom layer of paint off! If you do, spray a q-tip heavily and dab the spots.
And there it is!
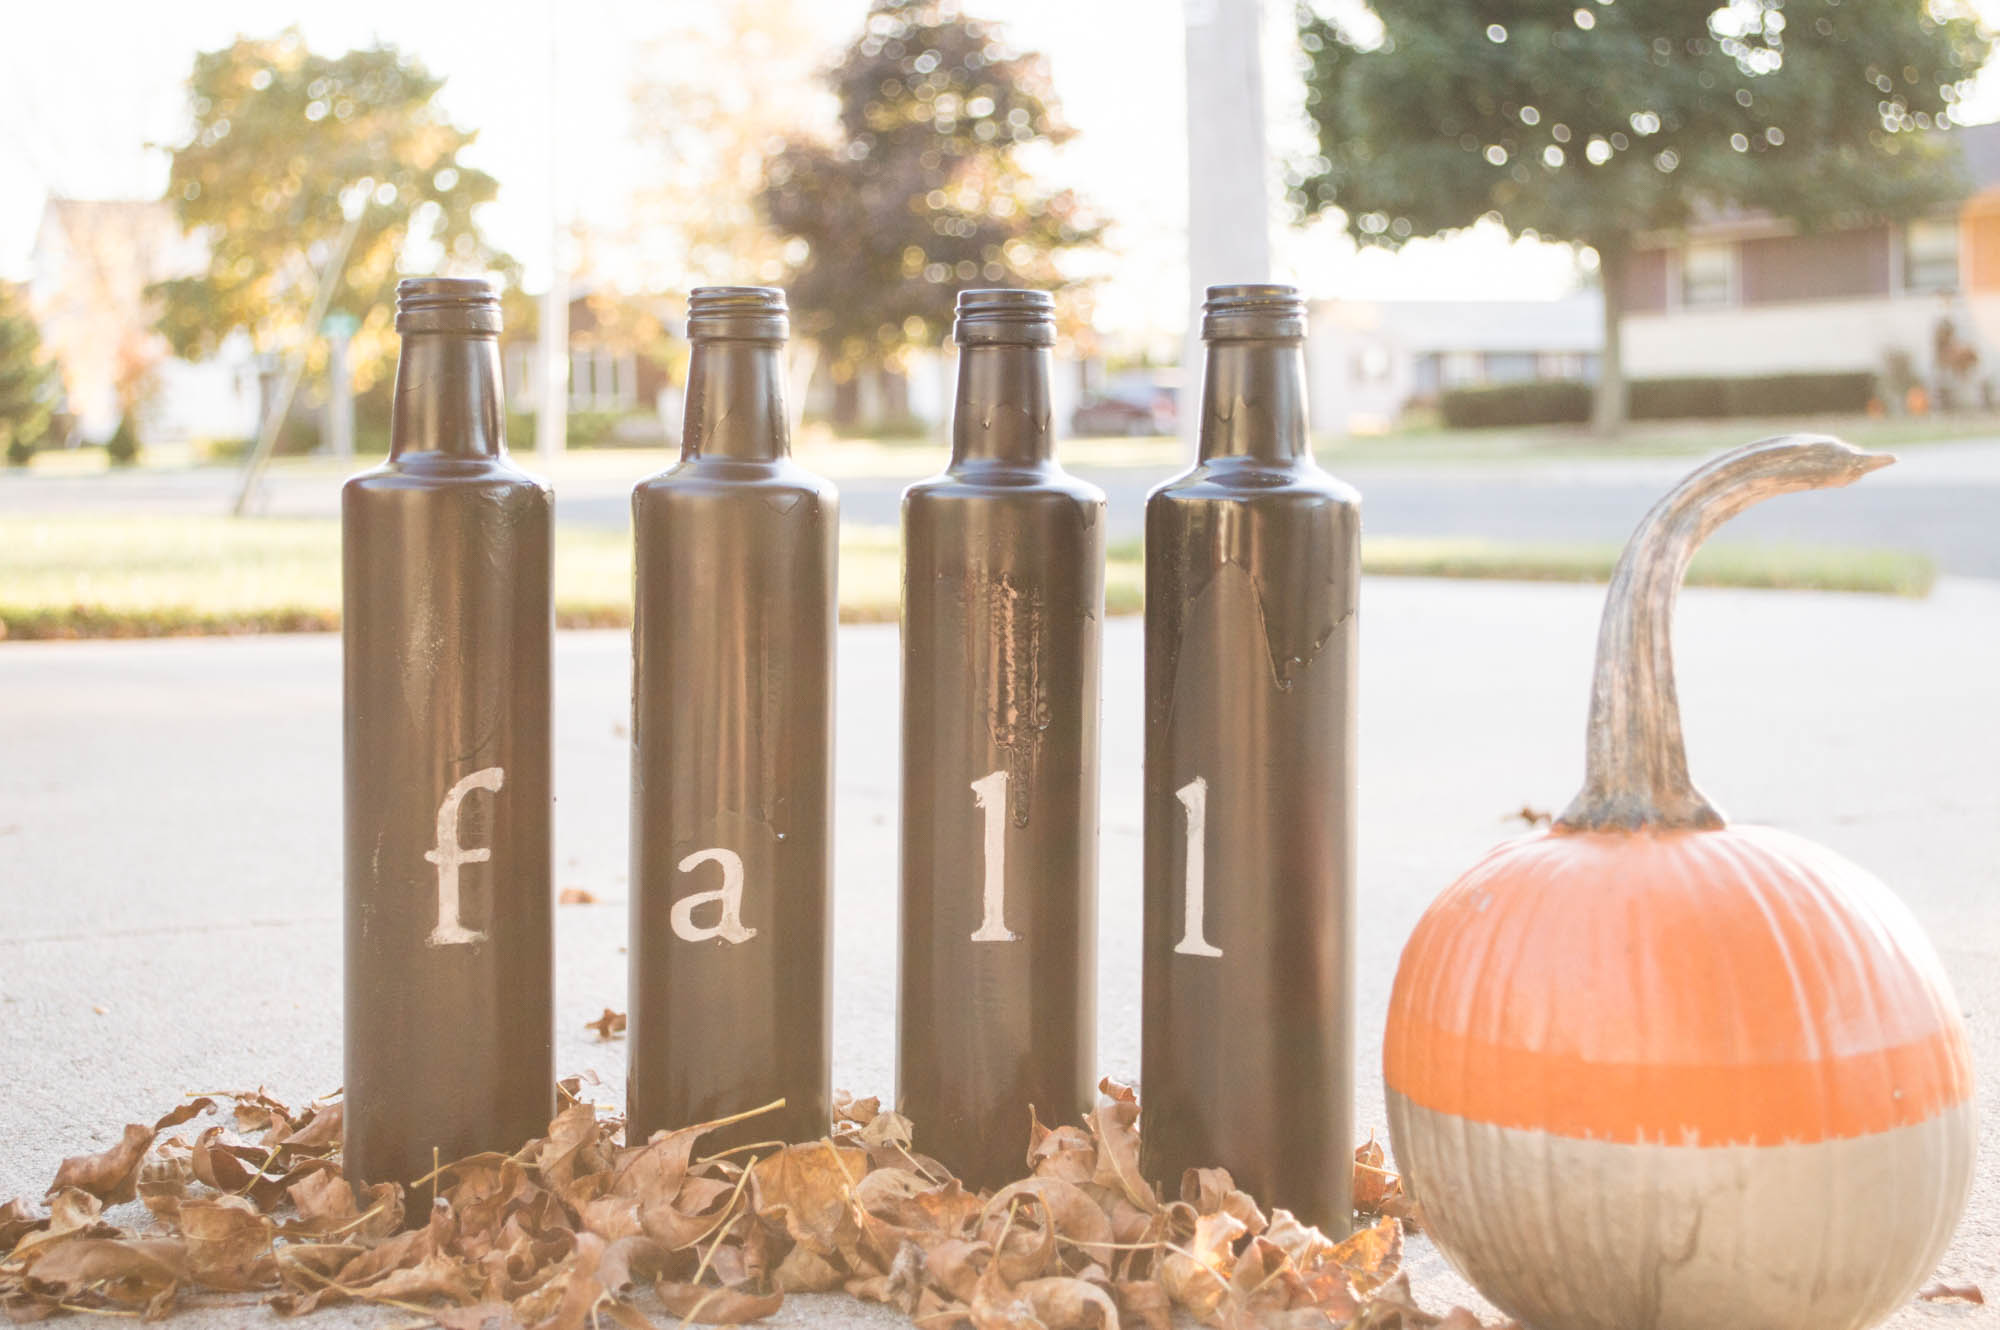
You’ll notice I also had a little fun and spray painted the bottom half of a tiny pumpkin I picked a few weeks ago. 🙂
Four beautiful bottles ready for your home. Put in flowers or twigs or anything else you can think of! And here’s a little trick – once the season has passed, simply turn them around to hide the letters for the rest of the year. Or make a set for each season – and show us your finished result! Share it on our Facebook or Tweet at us at @omegafoods! We want to see your twist on this fun and simple project.
Join us next week for a creative way to use our mason jars! I’m already excited. Thanks for making this with me! Get more of the omegas you need – and a more personalized, comfortable home. 🙂